Unity 3D is one of the most popular and powerful tools to develop games. It supports different types of platforms such as Windows, Mac, Android, iOS, Linux, Web and more. Using Unity 3D you can create your game application easily. Before going into the development part first we have to look a glance at the tool and its features.
Unity 3D supports both 2D and 3D game development and has the features to build Virtual Reality and Augmented Reality applications. To get started we have to install Unity Editor on your computer. Nowadays Unity 3D comes with Unity Hub, where one can install different versions of Unity Editors of their choice.
How to Download and Install Unity 3D
For downloading and installing Unity 3D Editor or Unity Hub you have to visit the Unity 3D official download page at the following link, Unity 3D Download. Once you successfully downloaded the Unity Setup file, click and run it to install. Follow the steps guided by the setup file, and select the build components as per your need.

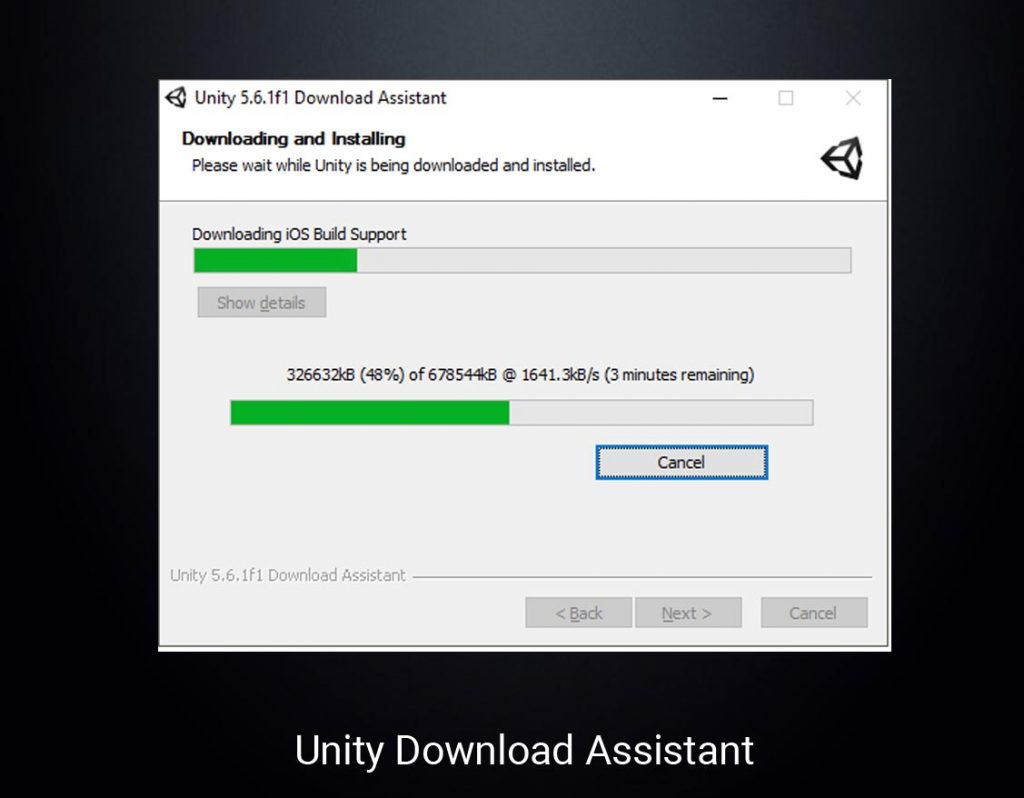
Once You have selected the components to install, then click next to continue the installation process. In the next step, the Unity 3D install assistant will start to download the components you have selected and install them on your machine.
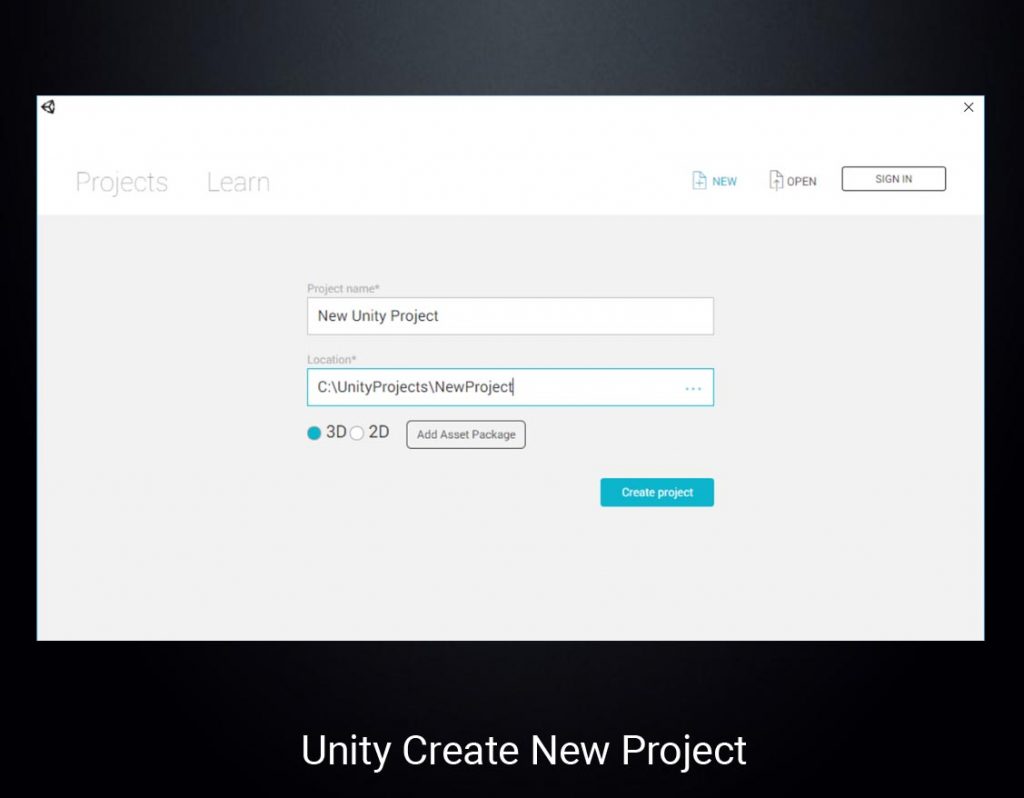
After the installation run the installed Unity Editor to create a new project, there will be a few options to select the project type and location of the project to save. Unity Editor will ask for your licencing details to set up your version of the Editor. The Unity Editor comes with different licenses such as Personal (Free to use), Unity Plus and Unity Pro, for more details you can visit this Unity License Page to select your license type.
On creating a new project it will take you to the Unity Editor Interface, where you do all the game-related works, the interface usually has the following Project windows,
- Toolbar
- Hierarchy Window
- Scene View
- Game View
- Project Window
- Inspector Window
The above-mentioned are the basic windows that open with Unity Editor as default windows, there are more other windows that play important roles in the Unity Editor tool. Let’s see them one by one.

Toolbar
The Toolbar gives access to most essential working options, In left side the toolbar have tools to manipulate in the scene view and the gameobjects. In middle it have three important play related tools as options. Visit more at the official documentation.
Hierarchy Window
The hierarchy window is the place where the text reference of your game objects of opened scenes is listed. You can find your scene components in this window and do operations like create, delete, rename and change the hierarchy of the game objects. Visit more at the official documentation.
Scene View
Scene View Window is another important working area of Unity 3D, in this window you can see all your visible gameobject and UI elements in 3D view as well as 2D view. In Scene window the elements can be manipulated with different actions like Move, Rotate, Resize/Transform etc., Also we can change the view angle your scene for editing the elements. Visit more at the official documentation.
Game View
In Game View window you can see the output of your game scene, it renders the camera view into the game view. This is what we will get as the output view. Visit more at the official documentation.
Project Window
Project window diplay all your libraries and the assests added to the current project, you can import the assets, remove it from the list if you don’t need. Also there is search option to find your assets easily. Visit more at the official documentation.
Inspector Window
Inspector window helps you to view and edit the properties of selected object. The layout and content of the inspector window will vary based on the selected object, since different types of objects have different sets of properties. Visit more at the official documentation.
More will be updated in the next post! keep following us to read more!.


